Diary of a lockdown home brewer part 4: Fermentation - put the lid on and hope for the best


You’ll be pleased to know a home brew certainly becomes more like a beer during fermentation.
In this next step, you can also start sampling your beer which can be very exciting if you’re a first time brewer, but it can also be equally depressing if things don’t quite work out how you might have hoped.
Advertisement
Hide AdAdvertisement
Hide AdIn my case, I certainly had the sweet stout flavours coming through when tasting it. Whether or not the fermentation has worked and there is enough alcohol (is there ever enough?) remains questionable.
This article is part four of a six-part series on my home brew experience during which I am attempting to make a Christmas stout. The recipe I chose includes cinnamon, orange and ginger with some smoked Bavarian malt and cacao nibs thrown in, so whatever comes out the other end should at least be a little festive tasting.
So far, we have looked at preparing the kit, mashing, vorlaufing, sparging and siphon sucking (you might want to read about it so you know what I am on about). But this week, it’s all about leaving your beer-to-be in a bucket to ferment and produce, what we hope to be, a delicious stout.
My fermenting bucket was a little low on substance at this point due to a disastrous leak I experienced in part two during the mash. I was aiming to have about 10L by the end of the whole process, but I now only have 5L because of a poorly fitted tap (my fault entirely). I clearly don’t attract beginner’s luck.
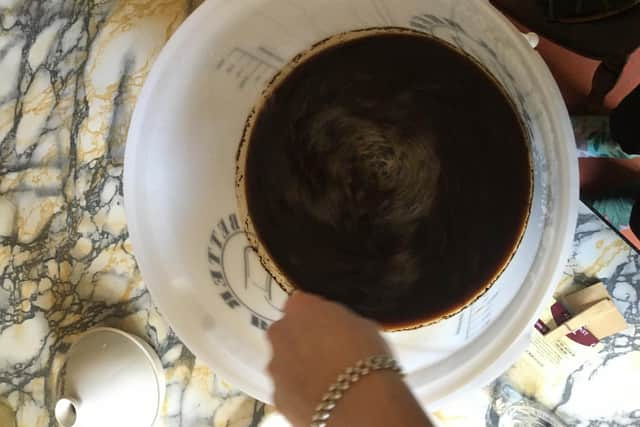
To just give a quick recap to where we are, we are now working with wort - a liquid produced from mashing - which should be in a fermenting bucket with a tap. The wort needs to be between 20 to 25C before we start fermentation as this is the optimum temperature for yeast to work at.
Time to add the yeast
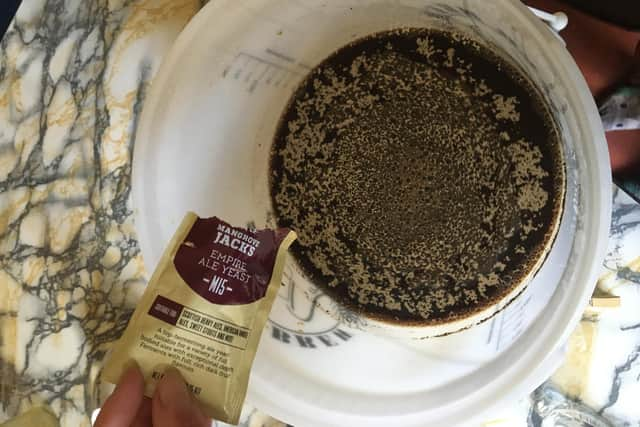
Once the temperature is right you need to get a large spoon and stir the wort vigorously to shake up the sugars to get them ready to be converted into booze. Then, it’s time to add the yeast. Sprinkle about 5g on top of the well-mixed wort. I found this step quite underwhelming to be honest. I was hoping it was going to start popping, a bit like when you pour milk onto rice krispies, but the sounds don’t come until a bit later on.
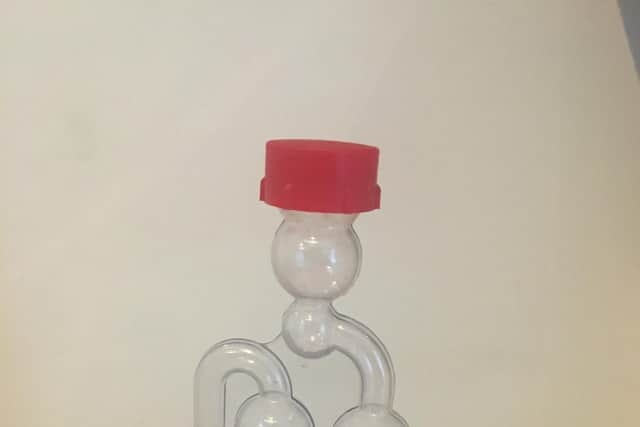
As soon as the yeast is in, put the lid firmly on and make sure your airlock is securely in place with a little water inside (see picture for more detail).
You’re then going to (attempt to) leave it be for about seven days.
Questionable noises
Advertisement
Hide AdAdvertisement
Hide AdFermentation should take about a week when using a home brew kit. During this time, the yeast is going to gobble down the sugars and expel Co2 making hilarious or disturbing noises, depending on your humour.
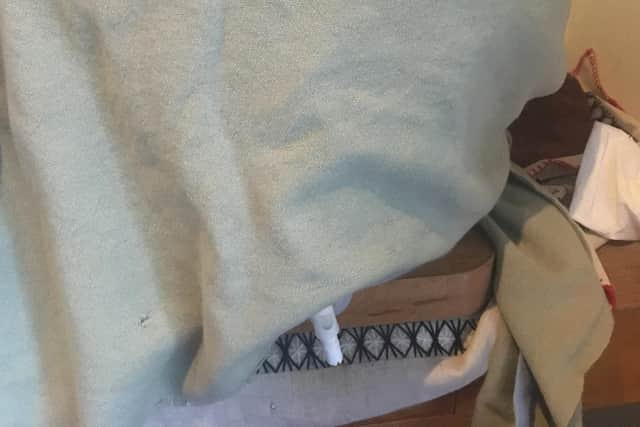
The temperature needs to ideally stay between 20 and 25C throughout this process to keep the yeast happy. With Scotland’s stubborn winter chill I had to wrap my bucket in a blanket to keep it warm. At this point it looked more like a grunting creature from Jim Henson’s Labyrinth rather than a brewing stout.
If you live with others, I would recommend letting them know about your beer fermenting away because it can make quite bold farting noises.
I forgot to tell dad, who I have been spending lockdown with, and he looked at me with utter disgust when he came into the kitchen during this exciting week and heard the brew for the first time. It was too tempting to string him along and tell him I was feeling a little off that day. If you have a dog, you might find it sitting and staring at your bucket for a while with its ears perked up and twisting its head on occasion.
Sampling
One of the bits I was looking forward to most was sampling the beer. After much gurgling and burping (the beer, not me), I decided to take a sample on day five - it took a fair bit of strength to wait that long. At this point, the beer smelt a bit like banana, which apparently means it overheated a little (random, but interesting). The taste? Certainly sweet, chocolatey and brought some warmth to my cheeks, so it seemed to be on the right track. Or at least that’s what I kept telling myself.
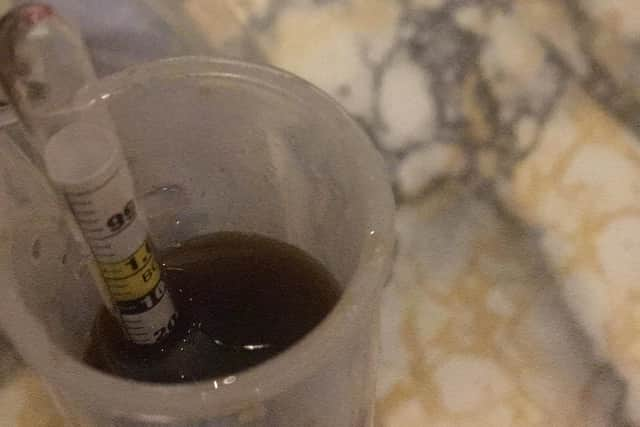
While your sampling, take enough (about 100ml) for a gravity reading using your hydrometer – this measures the sugar level. Before fermentation my gravity reading read 52 (1.052), and after five days of fermentation, it dropped to 20 (1.020). This was great to see as it meant the yeast was doing its job and converting the sugars into alcohol. My aim for this beer was to have the gravity reading drop to about 14 (1.014) before bottling because this would give me a five per cent beverage.
Here’s an equation to help you work out your desired ABV: starting gravity minus final gravity, and then times that by 131.25.
So in my case, I was aiming for (starting gravity: 1.052 - final gravity: 1.014) x 131.25 = 4.98 ABV
Advertisement
Hide AdAdvertisement
Hide AdUsually fermentation ends when the gravity reading stays the same for a couple of days in a row, or so I have read. Mine was still at 20 (1.020) by day 12. A bit of a headscratcher. 20 is apparently quite high and shows a lot of sugar is still left in the brew. This can be an issue when it comes to bottling as there’s a chance the beer will keep fermenting in the glass which can lead to an explosion. My innocent home brew quickly turned into a potential bomb making session by default. Luckily I am somewhere in the hills for this.
But after 12 days and the gravity reading not budging I decided to proceed with bottling, despite the alarmingly high sugar levels. There didn’t seem to be many other options and it was already tasting fairly boozy so I thought I’d take the risk.
I can’t think of a better cliffhanger than potentially exploding beers for next week so I will leave it there.
My next article will be all about the bottling process, how long to leave them for before cracking one open and if mine exploded or not.
My advice from this article would have been don’t try this at home, but that defeats the point of a home brew, so I’ll just say good luck for now if you are attempting this yourself.
A message from the Editor:
Thank you for reading this article. We're more reliant on your support than ever as the shift in consumer habits brought about by Coronavirus impacts our advertisers.
If you haven't already, please consider supporting our trusted, fact-checked journalism by taking out a digital subscription.
Comments
Want to join the conversation? Please or to comment on this article.